Doing what you love isn't a privilege;
it's an obligation.
~ Barbara Sher
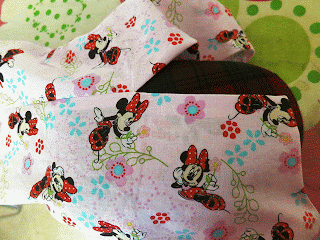
Probably a month ago I had everything done on these dresses
except the center back seam. I finally
squeezed in a few minutes over the holiday weekend to finish them up. (Man, did it feel great!)
I couldn’t quite make sense of the instructions, so I
decided to “go commando” and throw them out.
Here you can see one of the dresses, with the 2 back pieces laid right
sides together and the upper facing on your left.
I started by stitching the center back seam from the hem
(lower edge) up to the bottom of the facing.
Then I pressed that seam open – here is the result:
Next I turned the dress right-side out and folded the facing
over so that the wrong side was exposed:
I stitched this from the bottom of the facing to the top of
the dress – I tried to line up my stitches so that they started right at the
point where the back center seam ended:
I trimmed the corner and flipped the facing back to the
inside – here you can see how nicely it lines up with the center back seam on
the outside:
And on the inside:
Before I repeated that step on the other side, I lifted the
facing and added my label, so that the stitches wouldn’t show on the outside of
the dress:
Now it was time to repeat the previous steps on the other
side. This time I slid an elastic hair
band into the other side – to be the button-loop – before I stitched it. If you try this, remember that it’s the part
that you can’t see at this stage that becomes the part you do see when it’s
complete! (VOE*) ;)
Again, trim the corner before flipping right-side out:
A nice thing about those elastic hair bands is that they
come in all different colors.
Voila! Three adorable
A-Line dresses for 3 adorable little girls!
It was so nice to get in some sewing time! :)
I hope you had a good sewing weekend! :)
* VOE = Voice of Experience


Hooray! Sending up some awesome fireworks for you!
ReplyDeleteThanks, Gwen! It was a pretty great feeling!
DeleteI like the covered rubber band for a button loop.
ReplyDeleteHi Ruth! One of my blog readers gave me that idea - isn't it a good one? And it's easy for Moms trying to dress squirming children!
DeleteThose little dresses are so cute!
ReplyDeleteThanks, Mary! It is a simple pattern - but with the right fabric (and trims) you can make such cute outfits! :)
Delete